Well I had posted my original build on a caliber srt4 site but thought I'd share with all of you, as I plan on doing a lot of stuff my GLH.
This build is going to be done in phases, as I want to enjoy the car in the summer and do most major mods or upgrades doing the winter months.
Some background...
I've owned this car since 2000 and I started to upgrade it and was caught up by life, so she got put on the back burner for about 4 years. Well my older bother wanted to buy her since I wasnt going to do anything. Well that lit a fire and I started my project, lasted for about a month. So she sat for another 4 years. In '09 the wife and I got a caliber srt4 and it was all mine in '11. This car got me back into doing stuff to cars again. Well all this was ended by some unfortunate events and my CSRT4 had to go. So off the back burner the ole girl came. When I left the car, it only was a short block, all wiring was out & the only thing inside cabin was the steering column to be able to move car around.
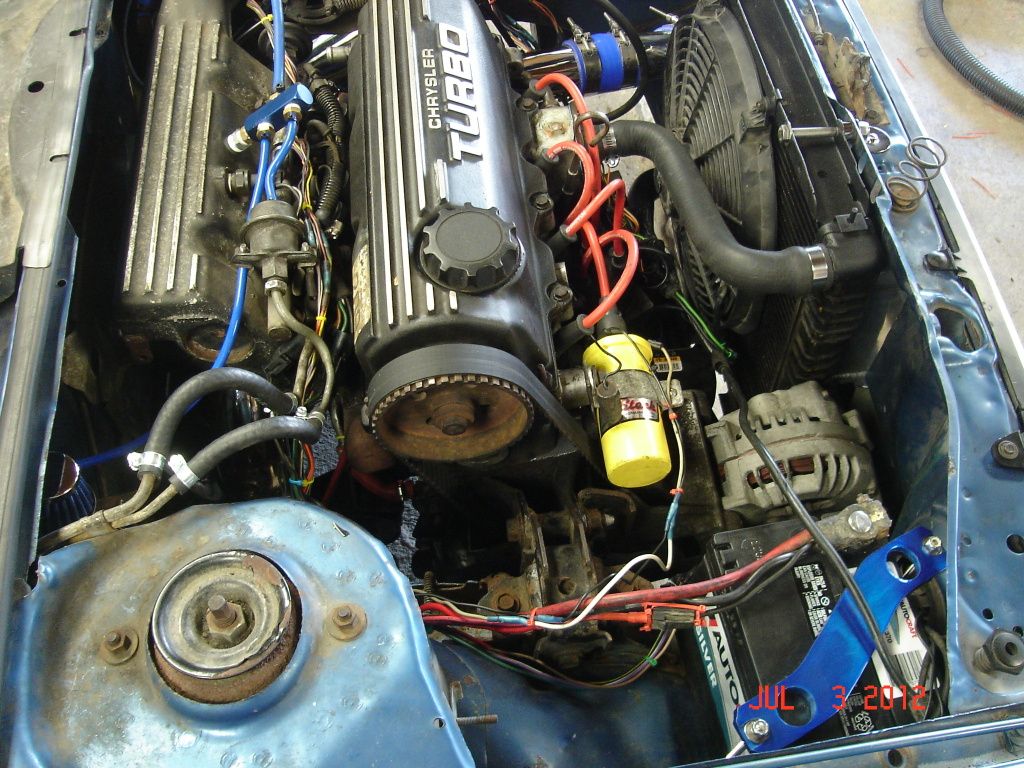
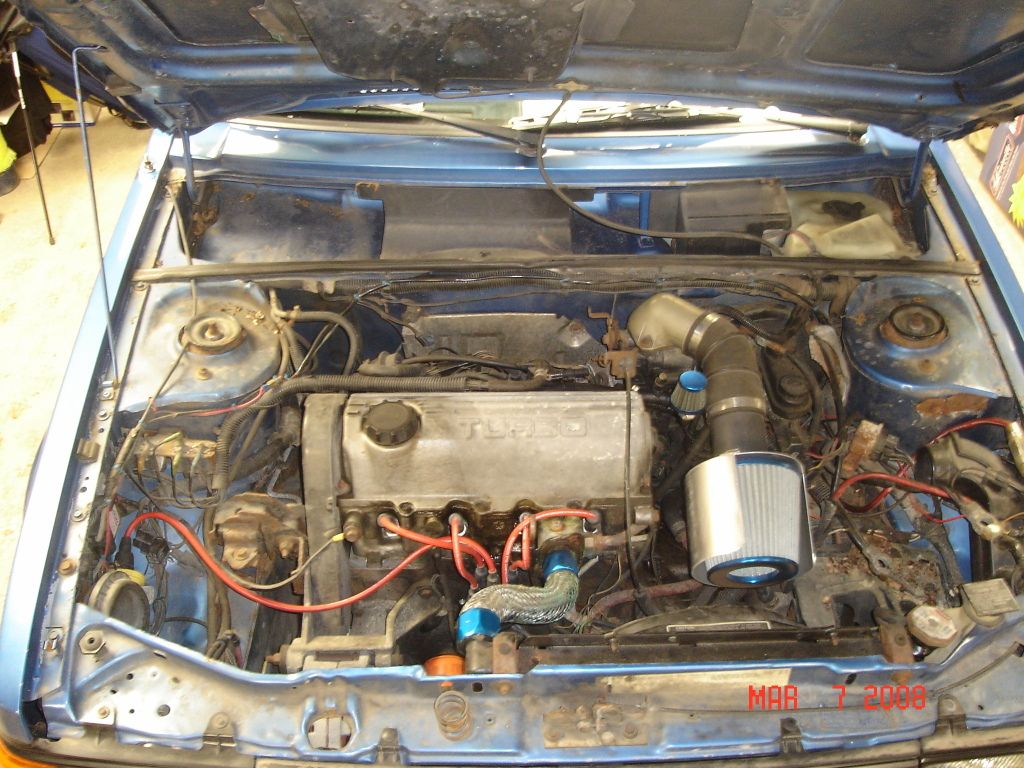
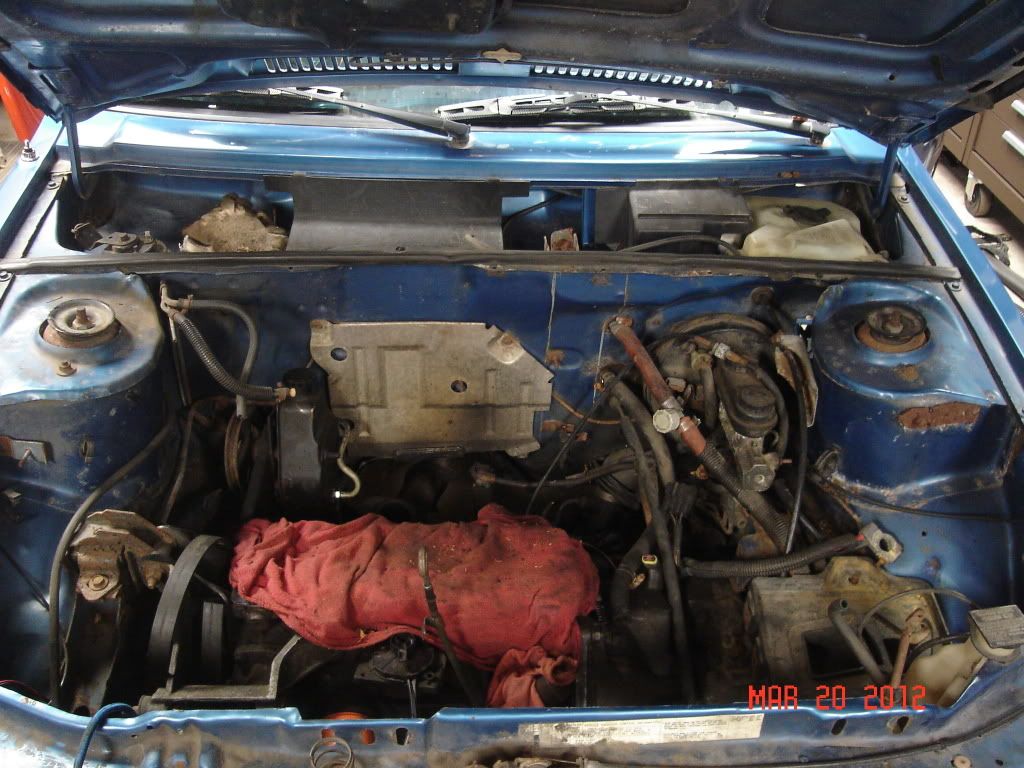
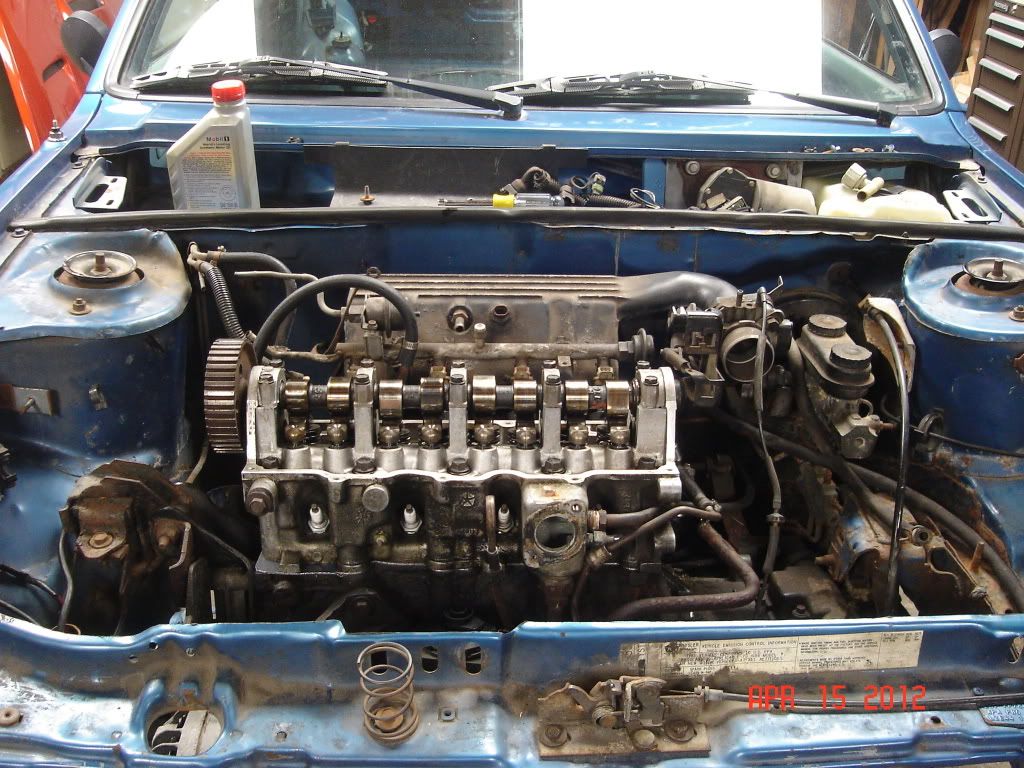
First thing was to get car running on stock T2 setup with the changes below.
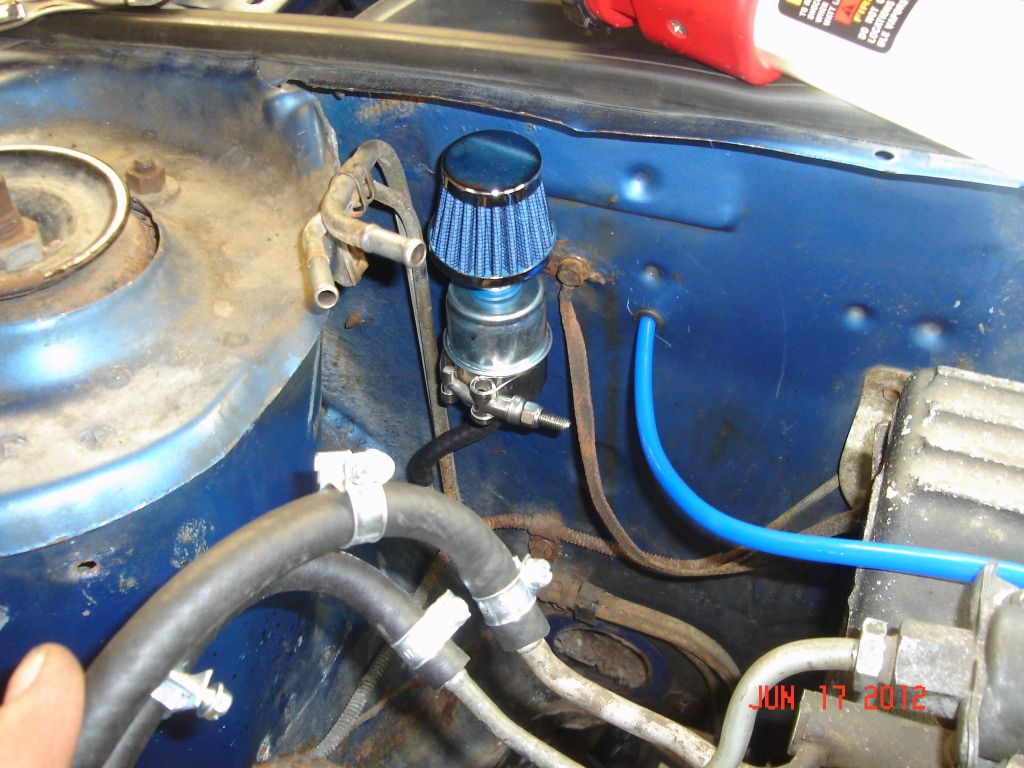
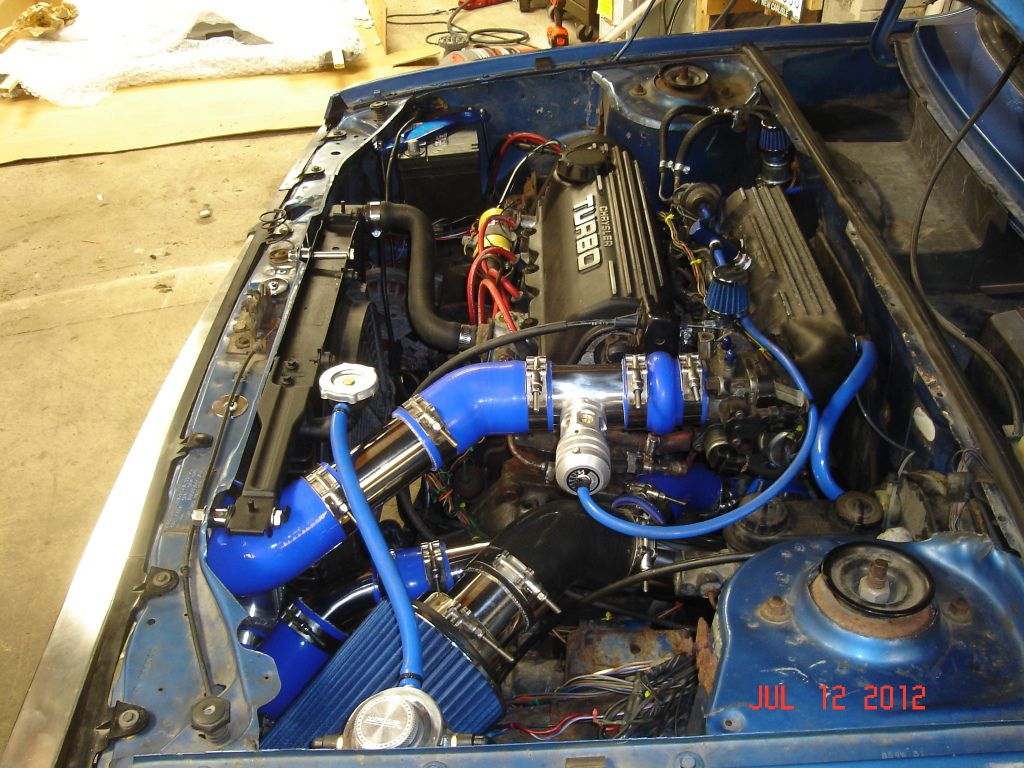
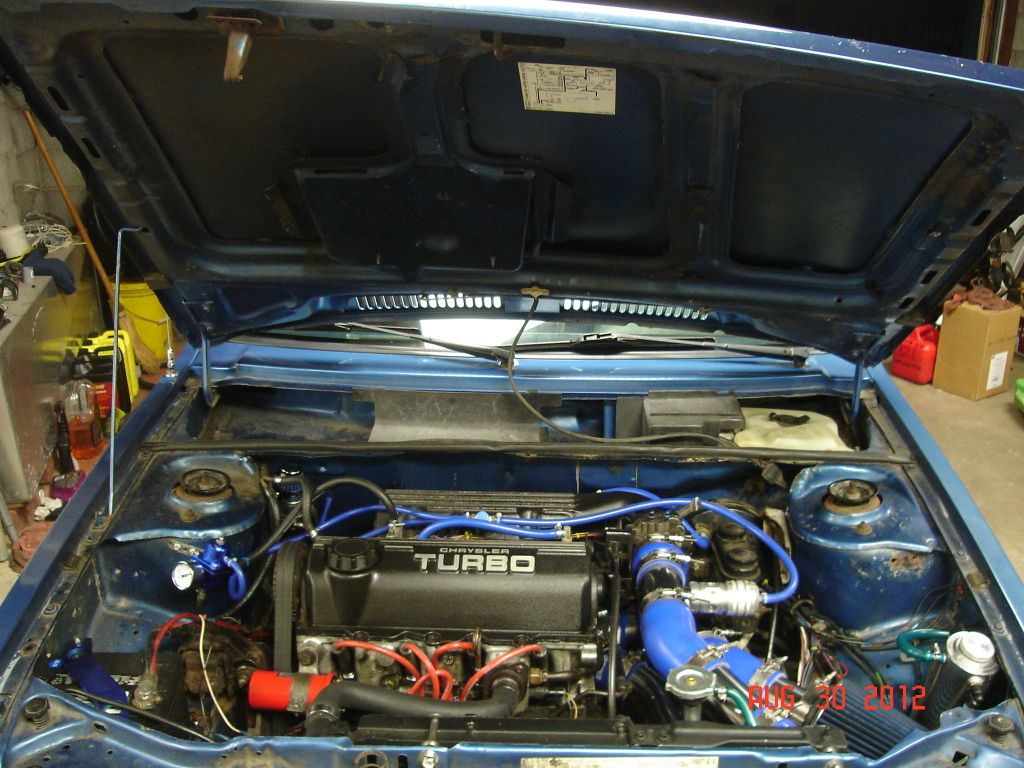
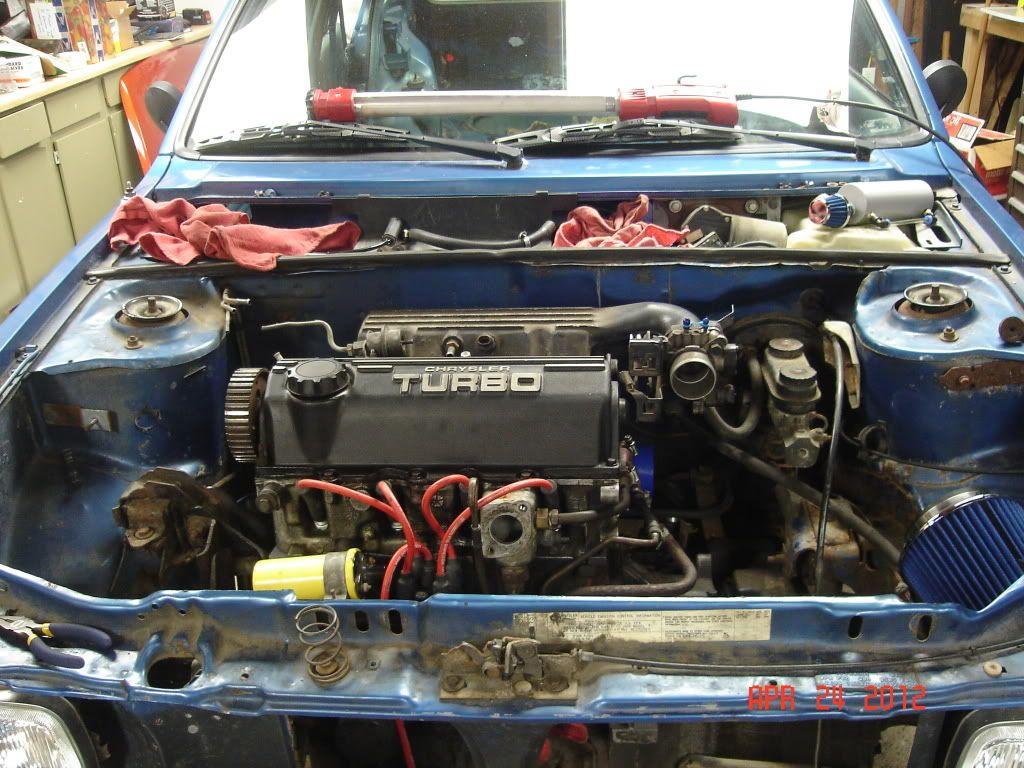
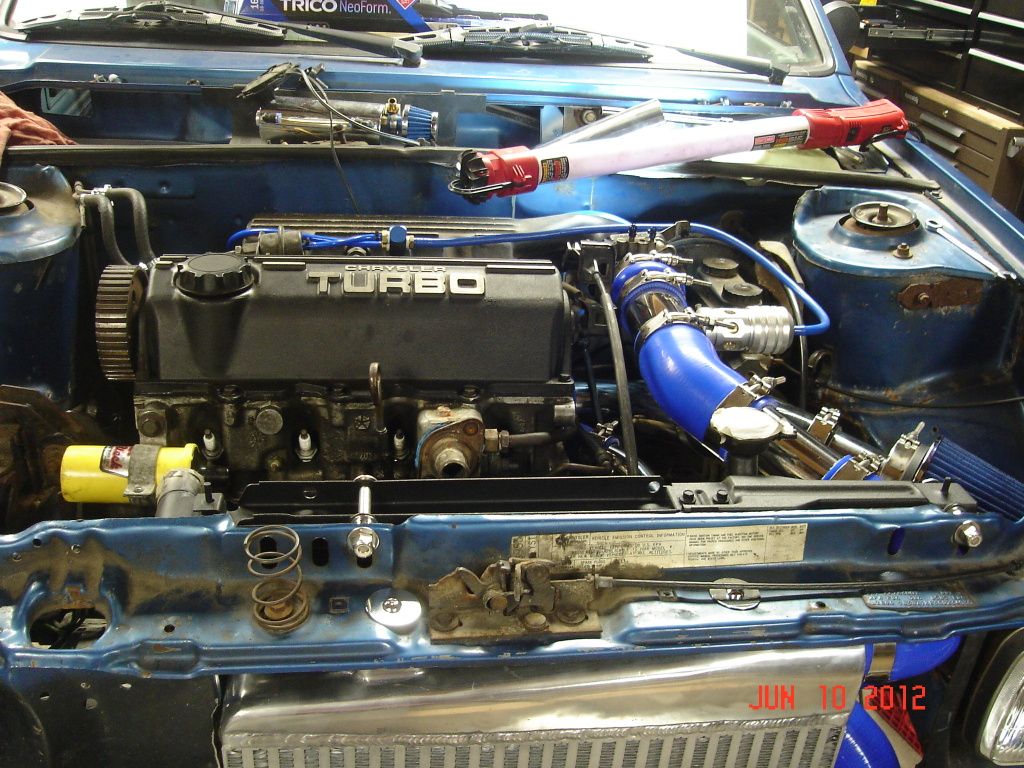
I put stock head back on and a 1pc intake manifold with T2 style turbo setup from a Shelby Daytona. The engine wiring harness is '89 Shelby Daytona SMEC for engine management and stock GLH for body. All that plus a wire tuck, with everything under dash, solenoids, relays, smec(no heater box). battery moved over to passenger side. radiator over flow removed and replaced with a weapon-x canister. Radiator is Daytona with stock fmic removed, but left brackets so I could pass new fmic plumbing though. Slim fan, power steer removed and manual rack went in. Exhaust starts off with a ATP 3" v-band swing valve, self made 3'' down pipe with dump, to 2.5'' piping, 3'' hi-flow cat, tuner muffler. I used a 800cfm intercooler with 2.5'' plumbing, Turbo-xs type h rfl bov, minuim vac lines on vac block 3'' short ram. A welbro 255 in tank pump with adjustable fuel regulator. Ngk 1 step colder plugs, magnacore wires, msd coil.
on to some build pics...
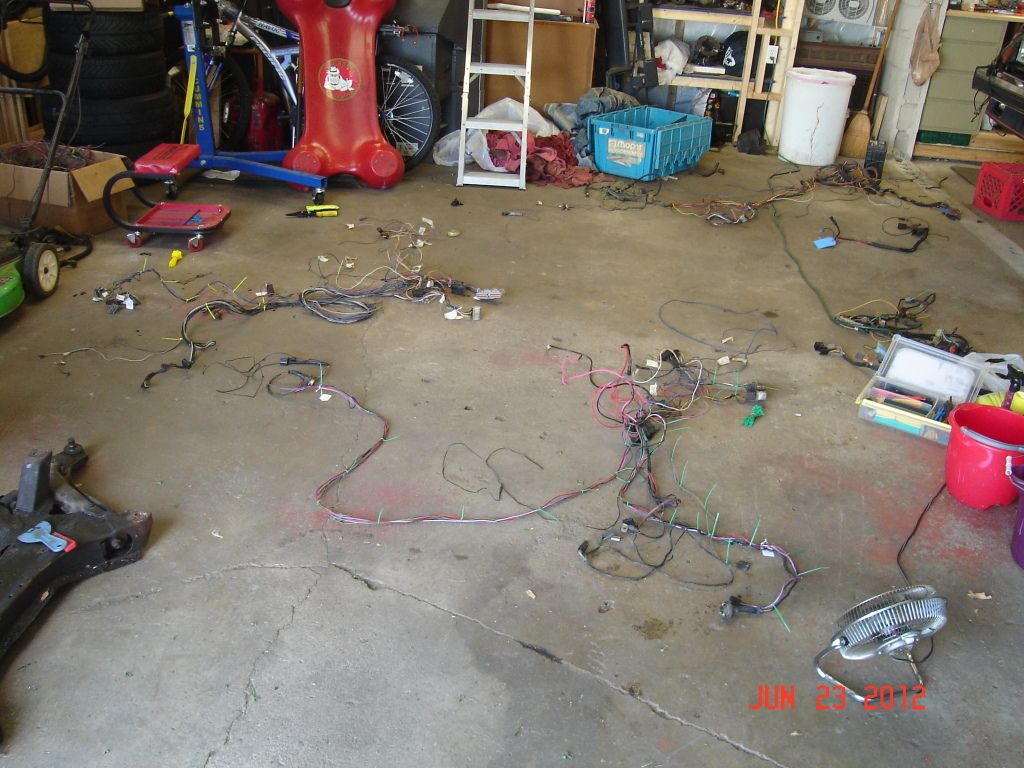
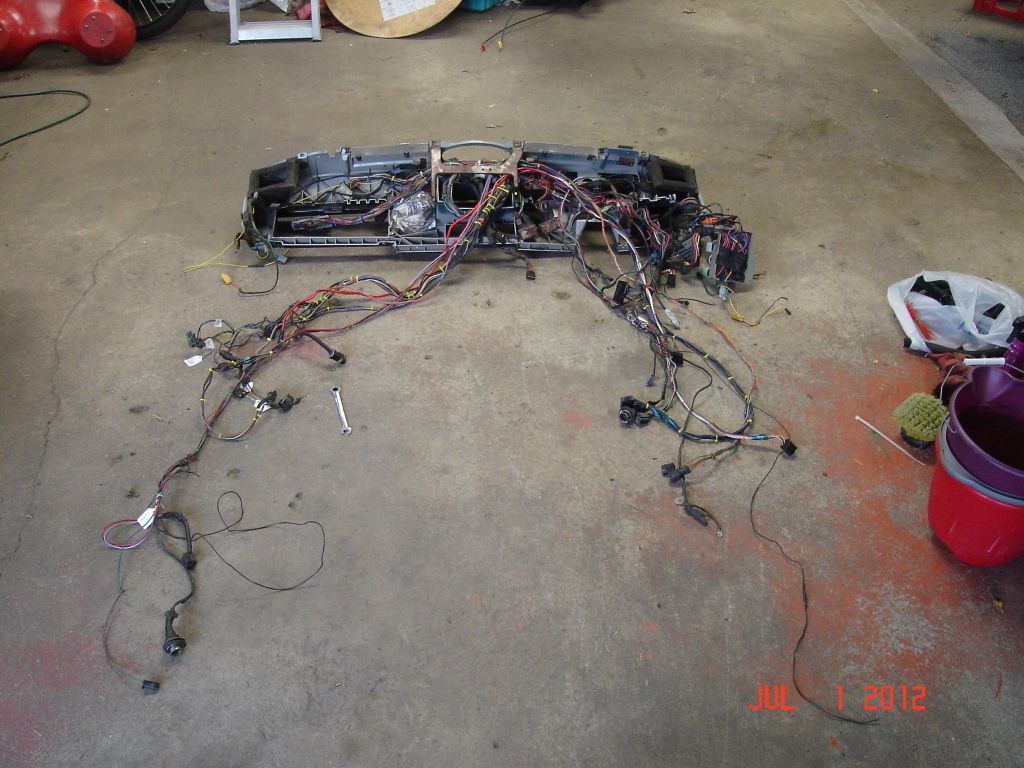
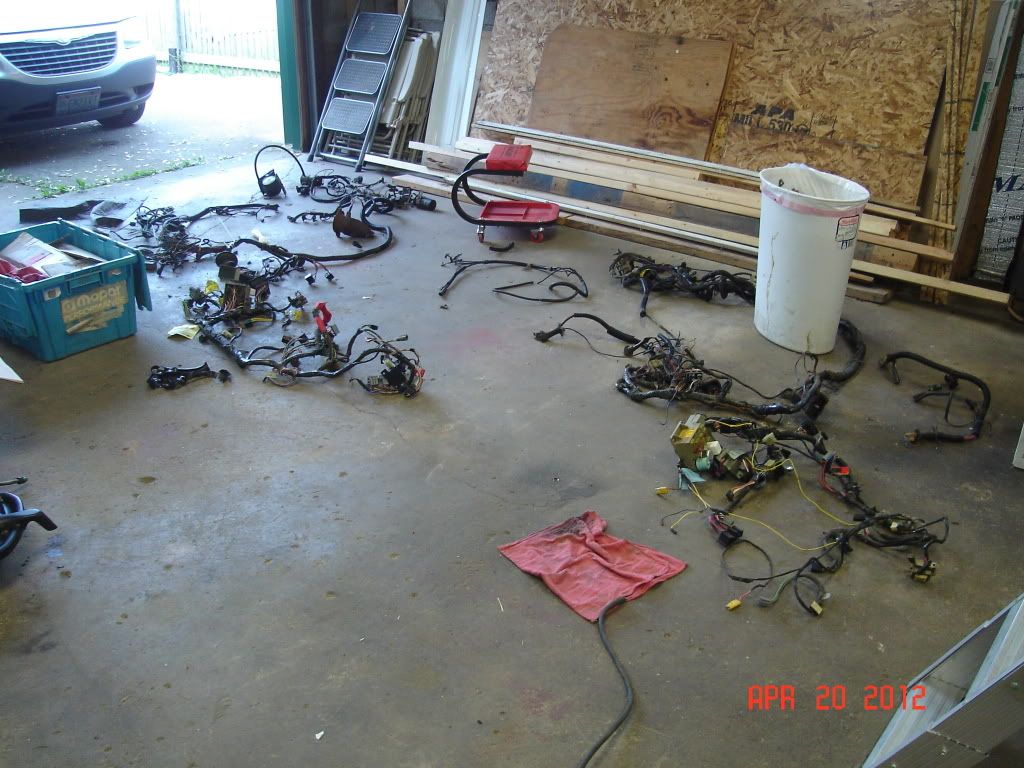
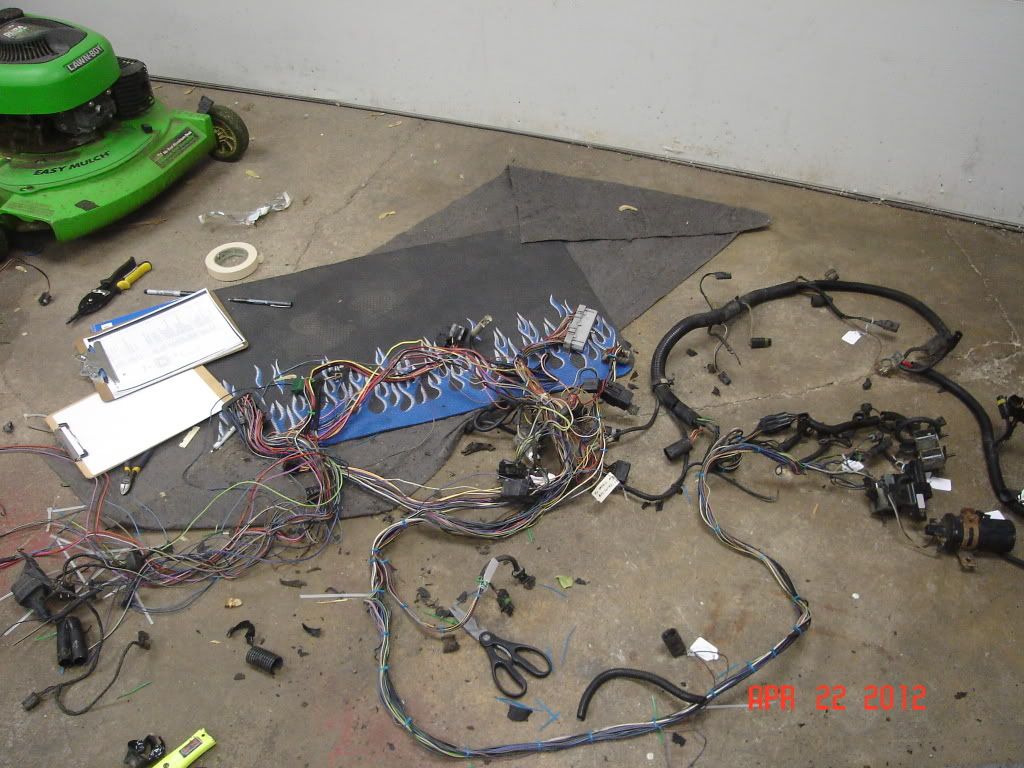
All my wiring harness before "harness marriage"
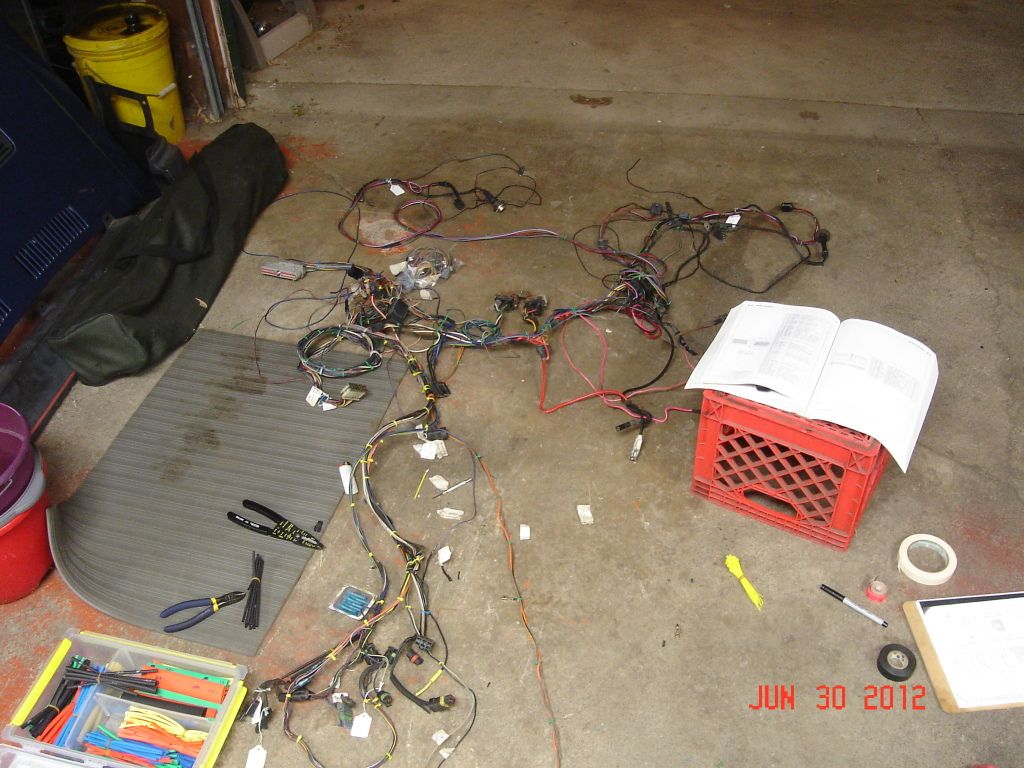
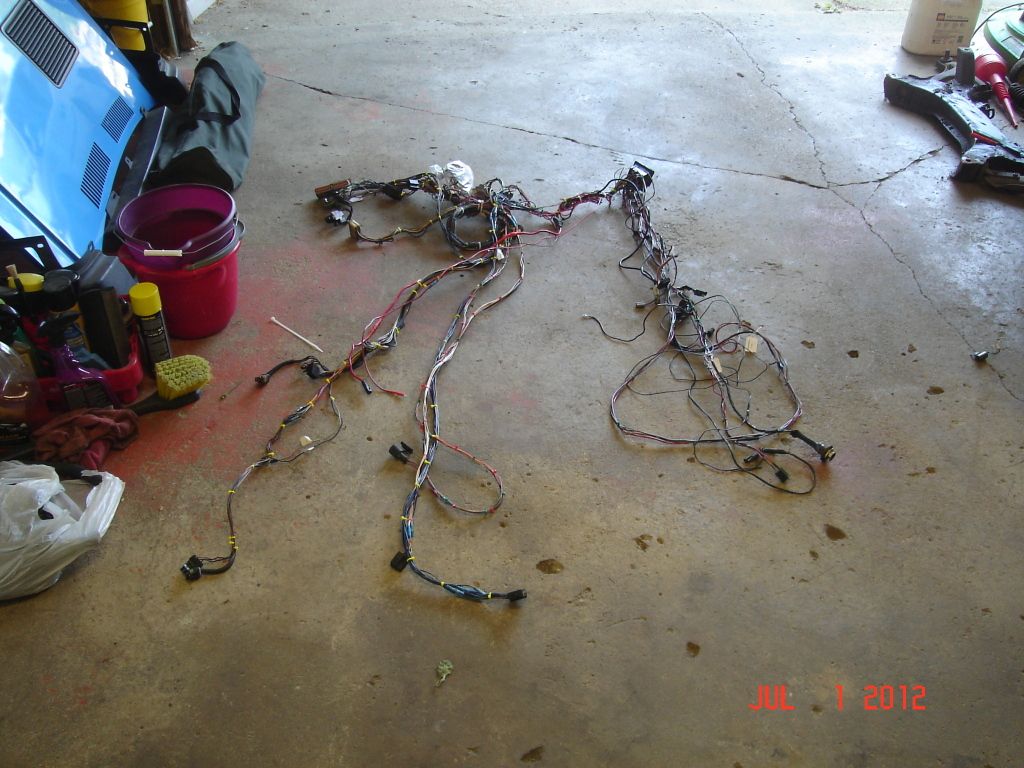
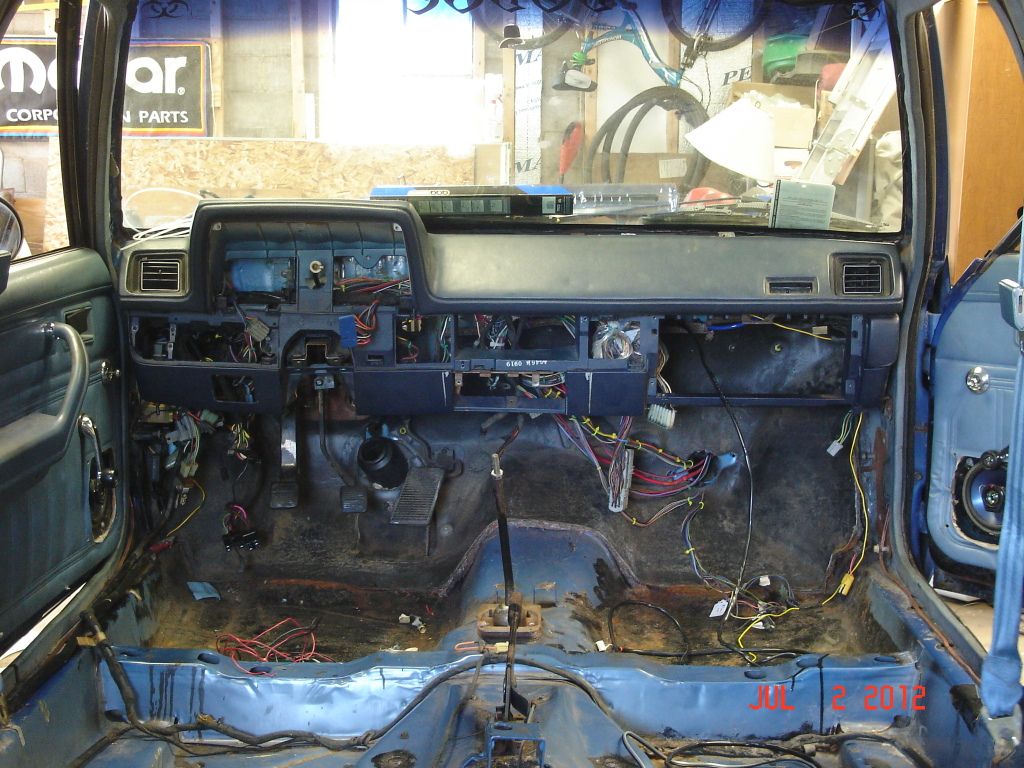
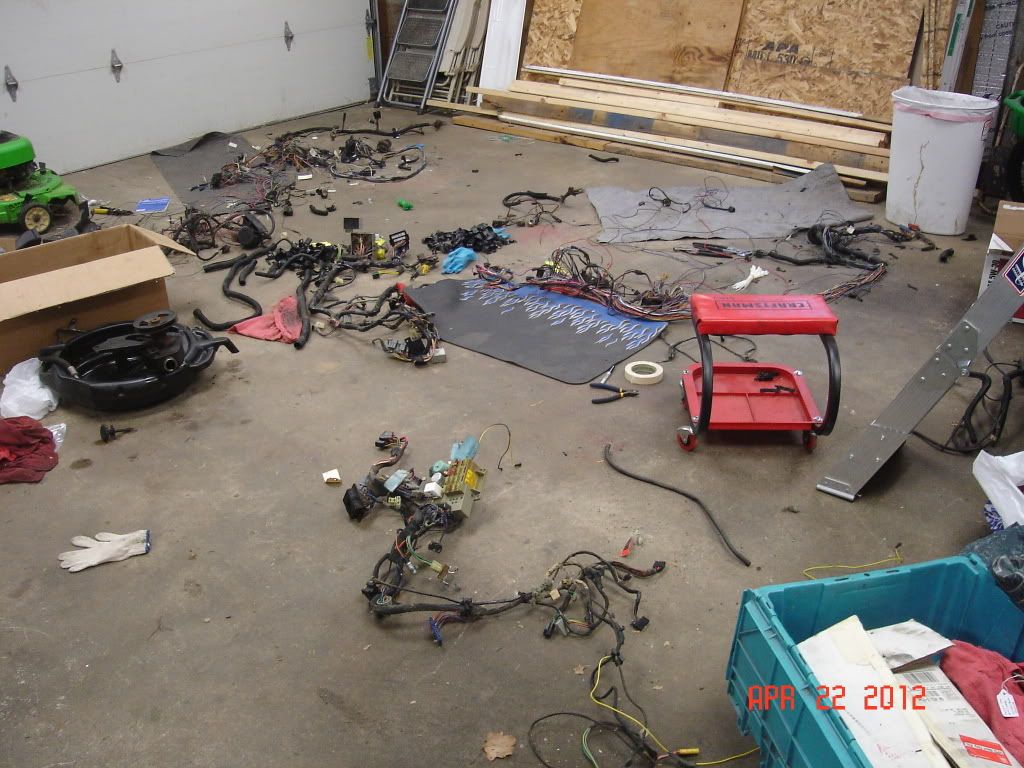
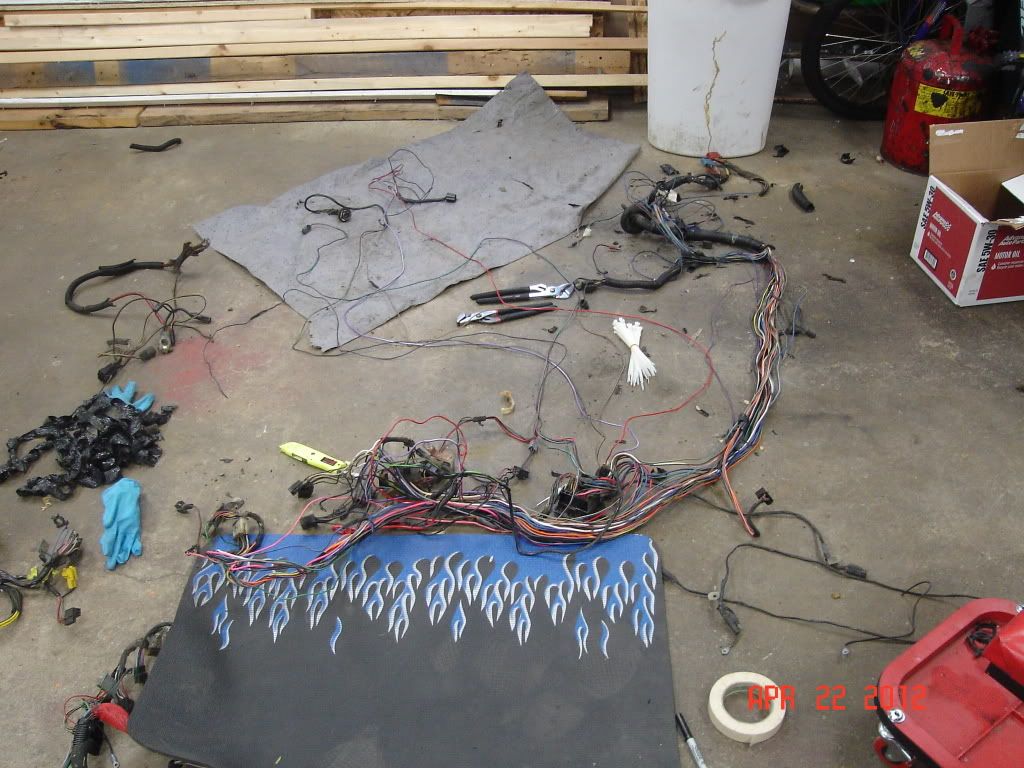
All my wiring harness in process "harness marriage"
Removing the SMEC portion from the '89 Daytona engine harness.
Removing the Power Modular and Logic Modular portion from the '86 GLH engine harness.
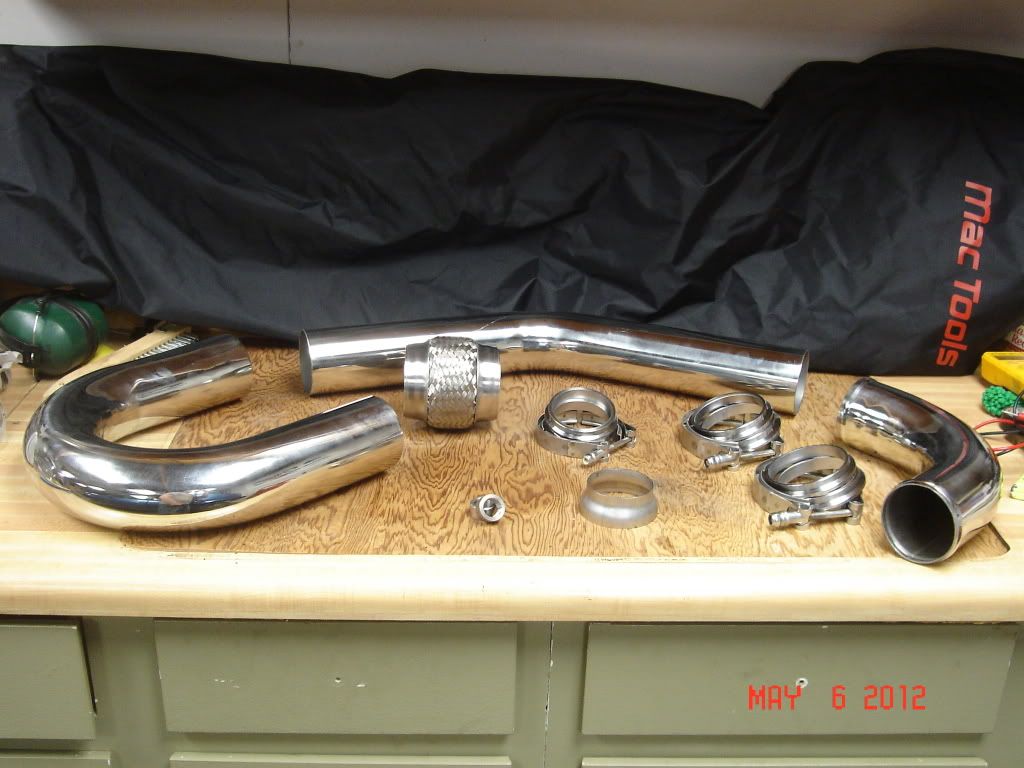
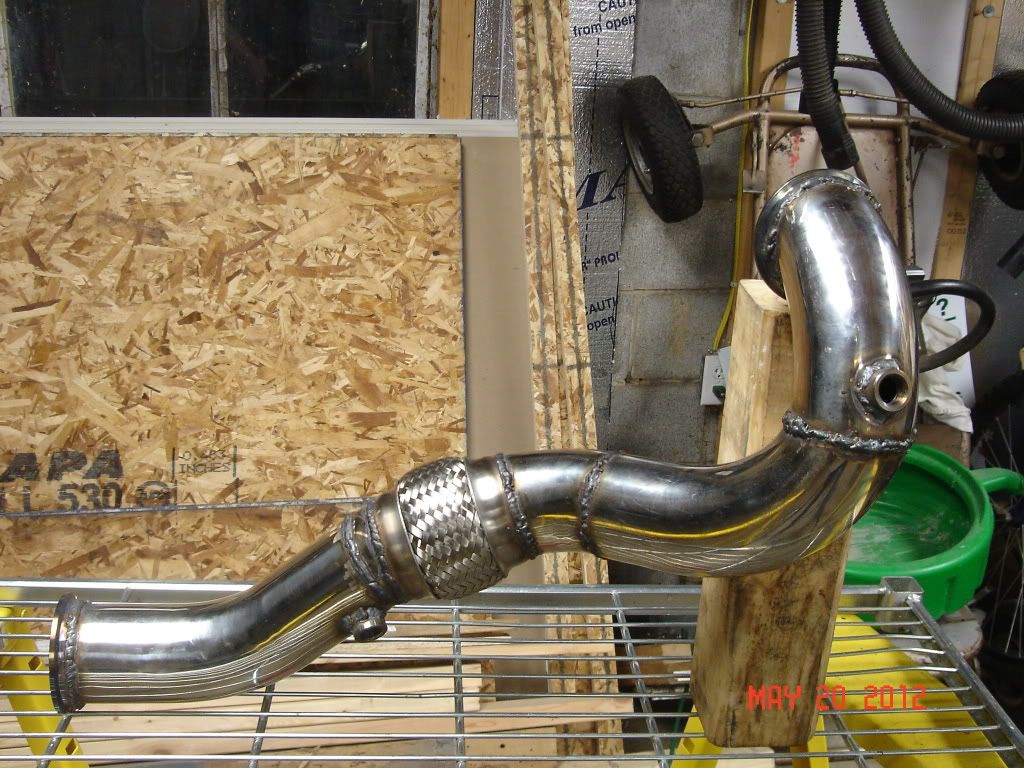
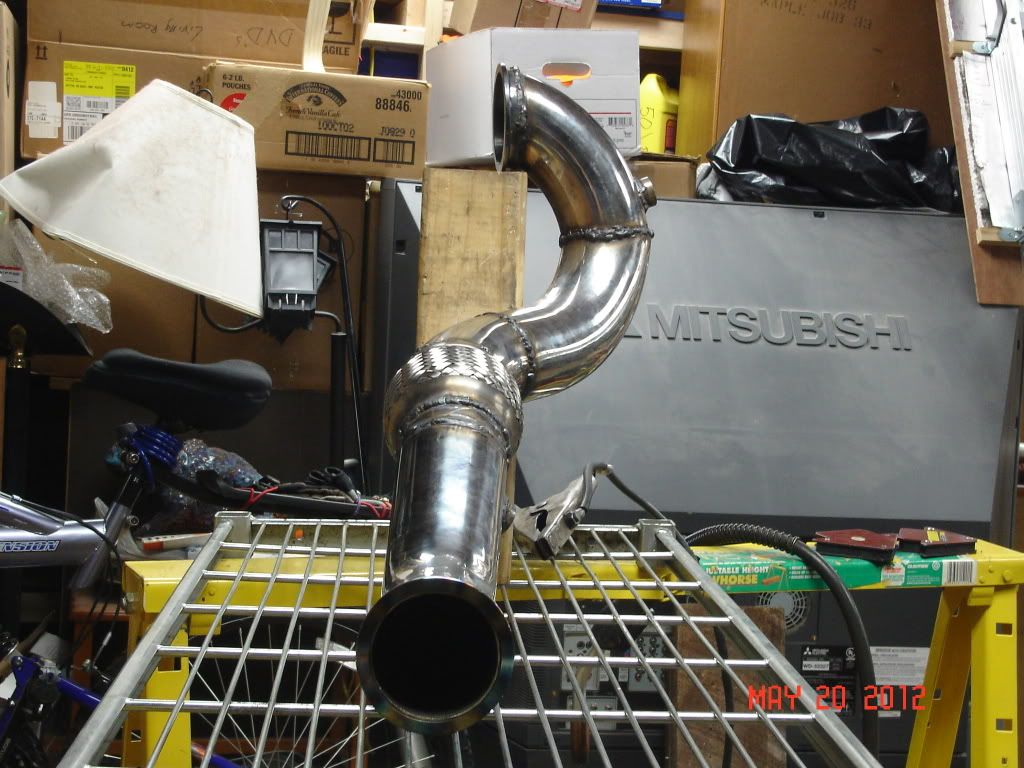
Took a break from wiring to fab up my custom 3" down pipe.
All the pieces
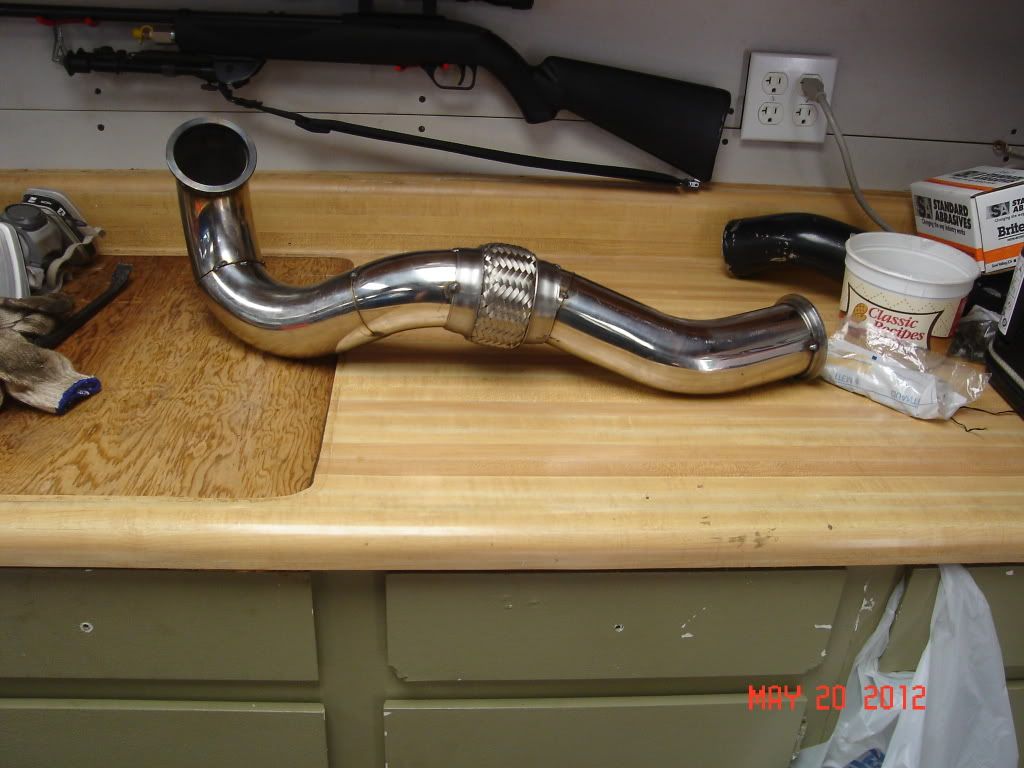
Dp tacked together
Here it is all welded together. Im not a pro at welding.
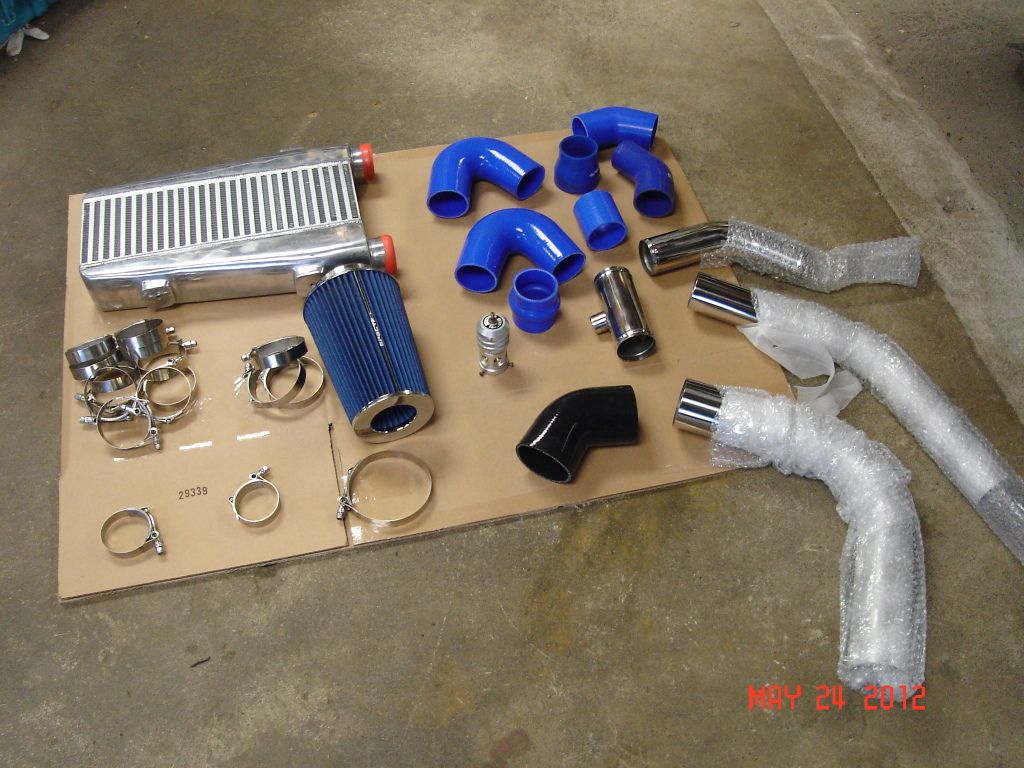
All my intercooler goodies and other stuff.
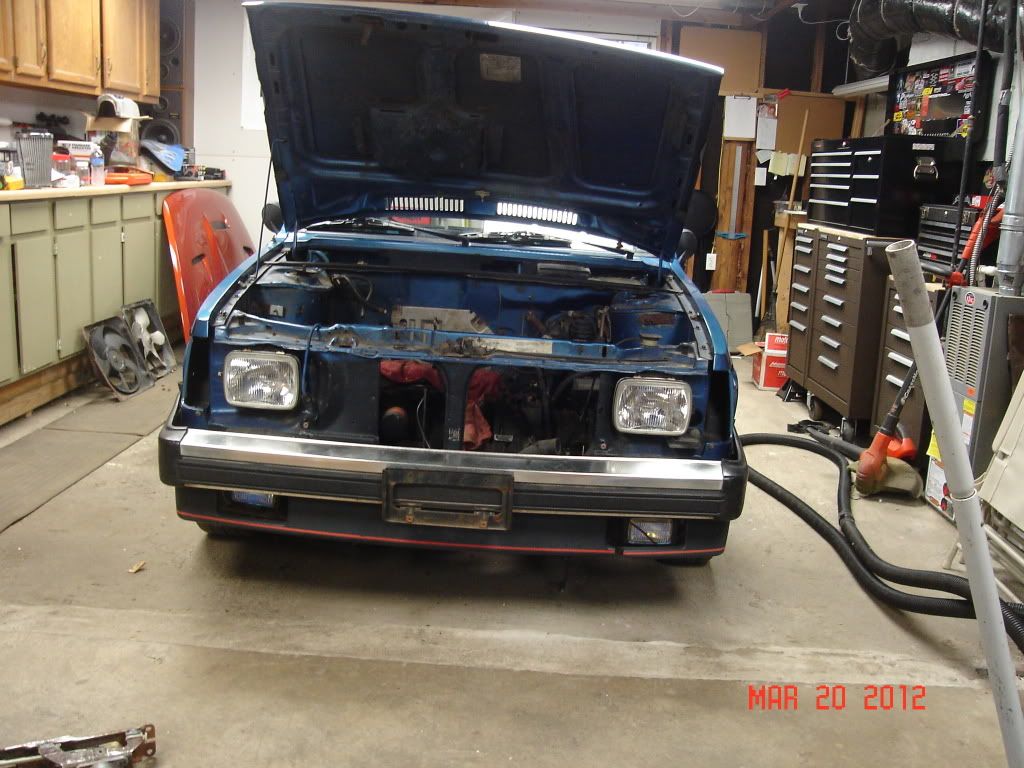
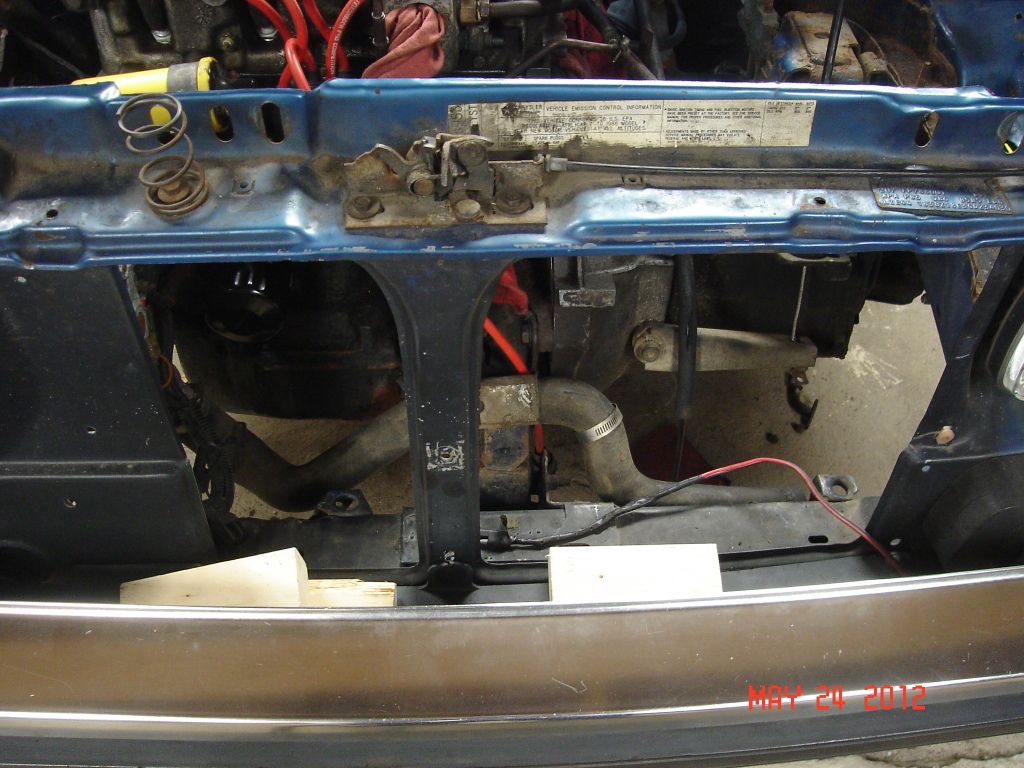
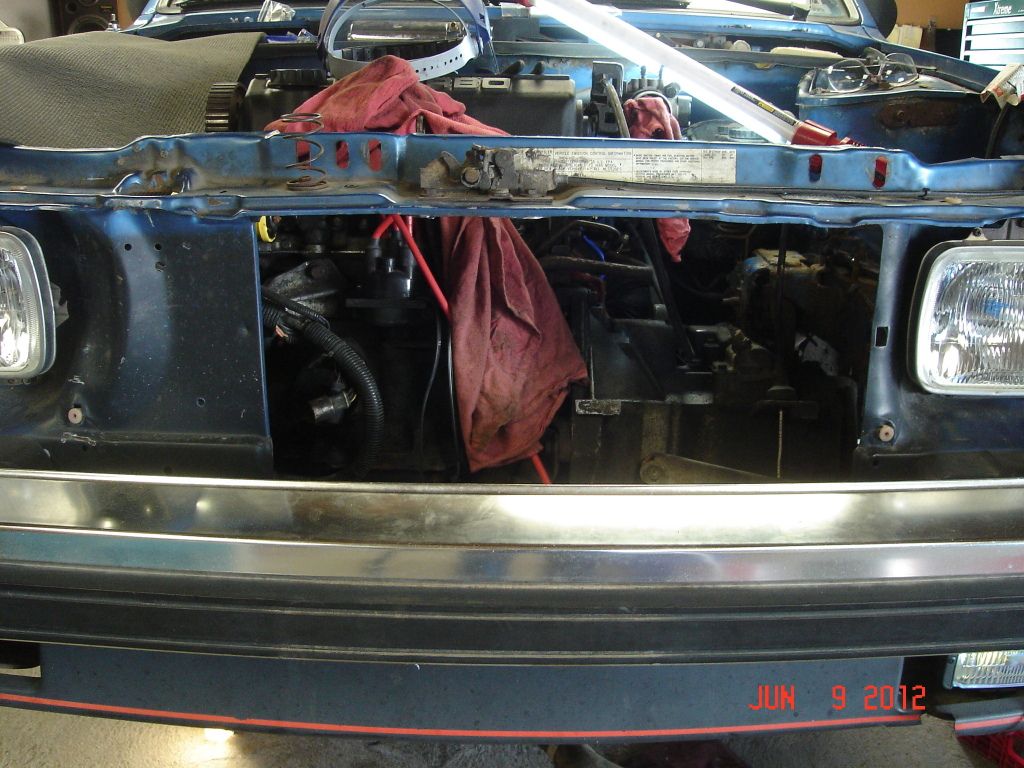
I chose to remove front support and basically use intercooler as the support.
Support removed from car.
Intercooler all bolted in.
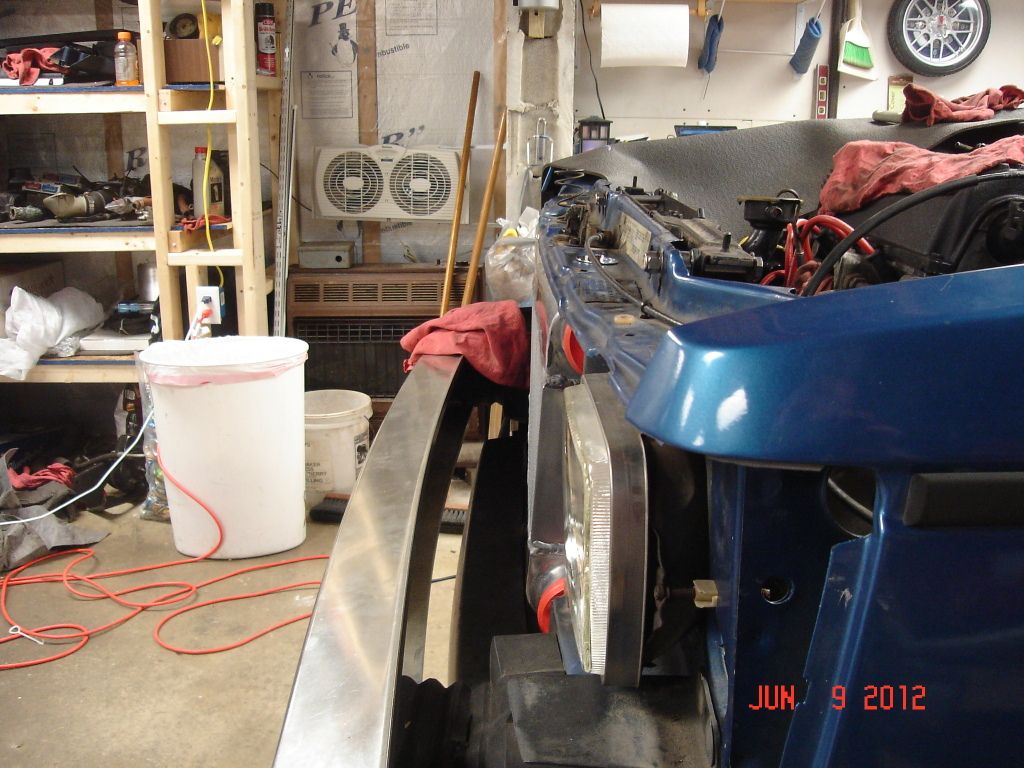
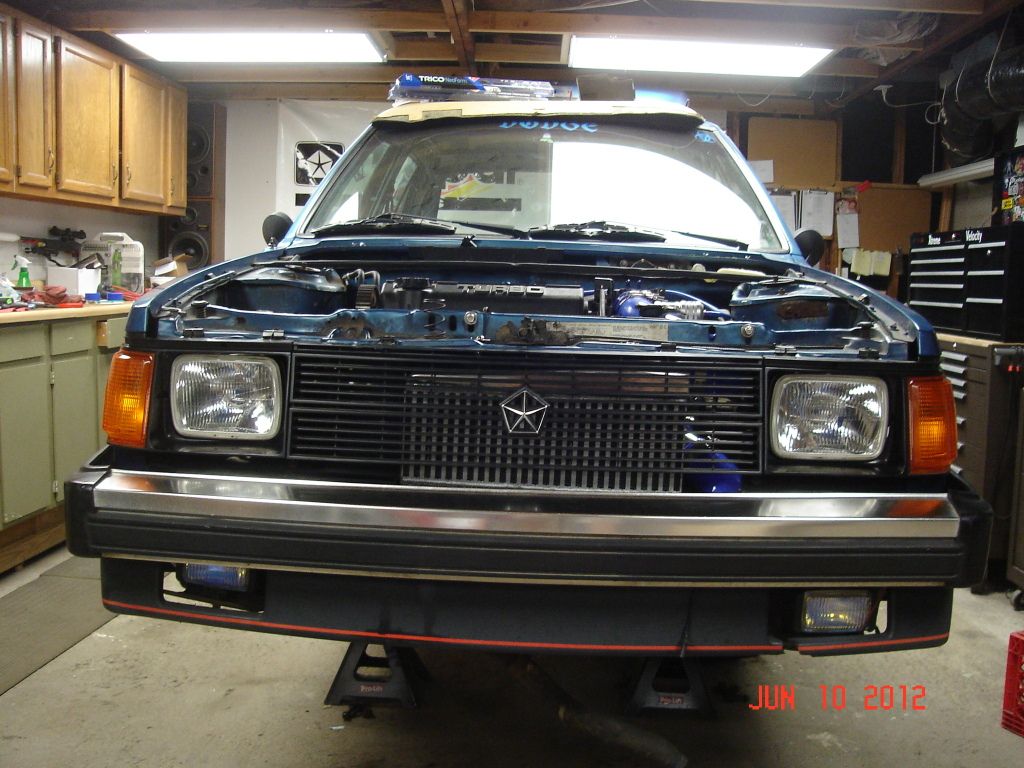
Intercooler flush with front. So I wont have any problems with front grill.
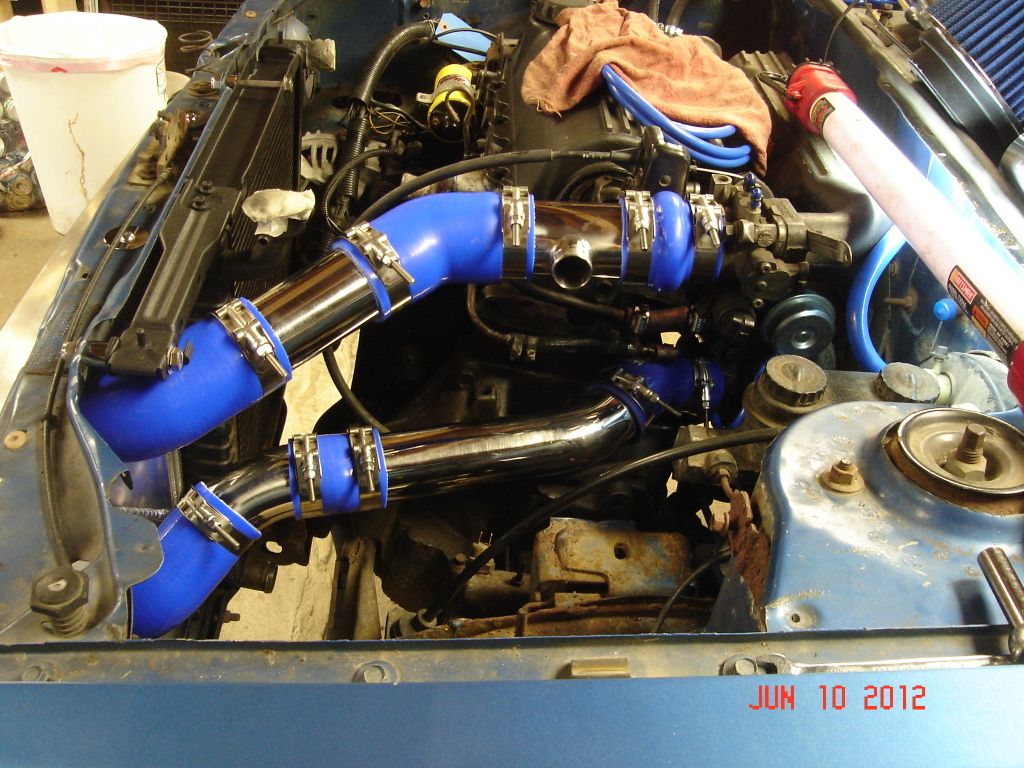
Some couplers on.
Hot side and cold side fabbed up, I had to cut every stainless steel pipe to size using a cut off wheel on an angle grinder. All fmic piping from turbo to throttle body is 2-1/2 inch. All Clamps used are T-bolt style, I even bought a big T-bolt clamp to use on air filter to finish off the look.
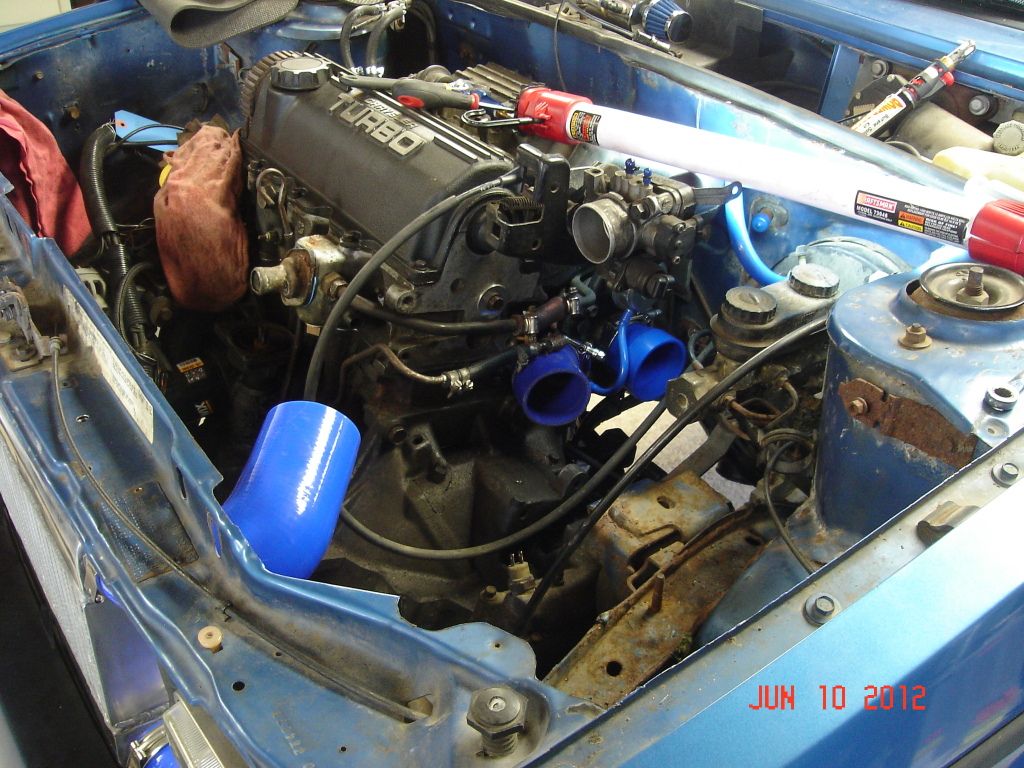
Short ram intake fabbed up and my turbo xs type h blow off valve installed. The intake is 3 inch to turbo inlet.
Front pic with grill on. Fmic looks nice. Im so stoacked with how everything was turning out.
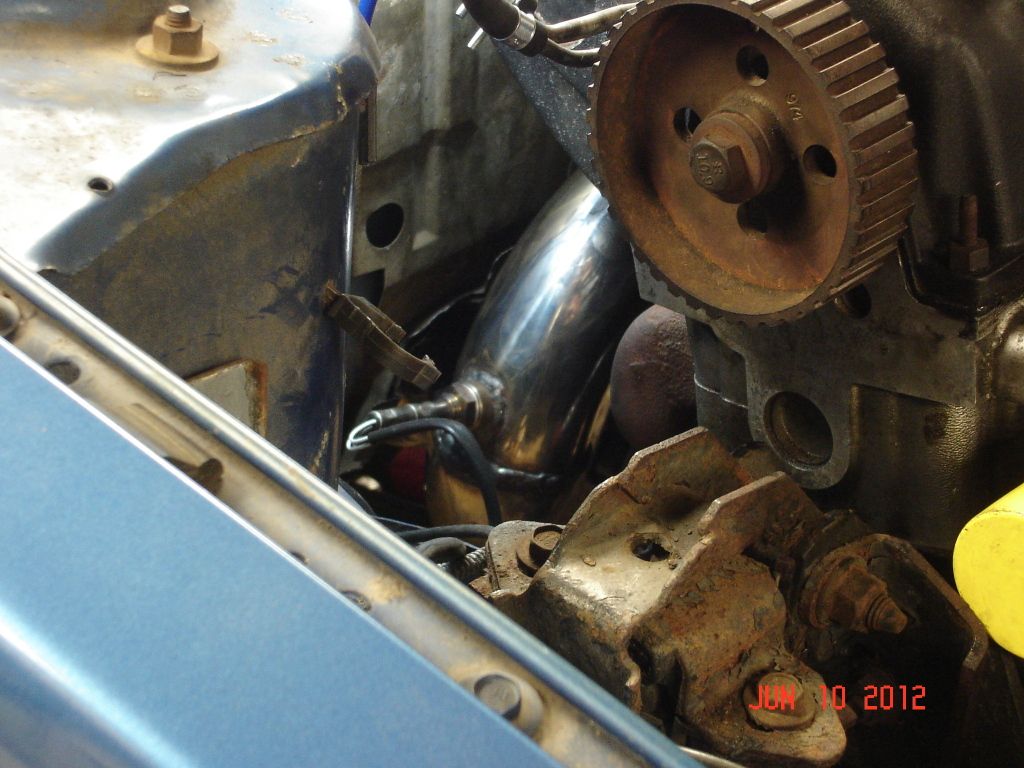
My custom down pipe installed


 Reply With Quote