Good progress on the buildI've seen both of those Daytonas at Mopars at the Strip. You gonna make it out this year?


Good progress on the build
AJ (no More Alan) 84 Rampage RT TIII/568 Quaife 87 GLHS dealer optioned Red 16V Masi/568/Quaife
90 Masi 16V White/Ginger/Black
89 TC Masi 16V Red/Ginger/Black
86 GLHS #110 RoadRace Built 89 CSX-VNT Recaro Car
89 Turbo Mini 'Woody' 85 GLHT 'RedBox'
2014 Explorer DD'r 3.5Twin Turbo Ecoboost AWD and 500HP
My profile page has over 20,000 views, I'm somebody LOL
i'm going to try to make it out drag racing. My real goal is going to be to take it out for track days.Originally Posted by 2.216VTurbo

wheels/tires/suspension/brakes required for that tho. My pockets are only so deep
Just a thought on your catch can tubing. I originally ran mine the same way, with the same clear tubing, out and back. I now run a heater hose, out of the rear of the valve cover fitting, to the catch can, without a return hose. It allows me to use a small air filter, on the can, and seems to be less restrictive, since the tubing is a larger internal diameter. It also doesn't discolor from the hot oil fumes.
took the Shadow to the scrap yard today
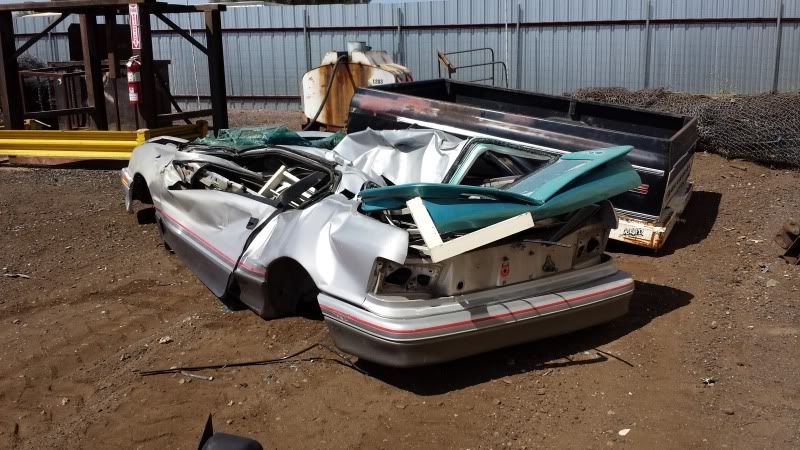
Sad to see a clean shell going to scrap but I know sometimes you just need stuff gone.
Can't save them all unfortunately.
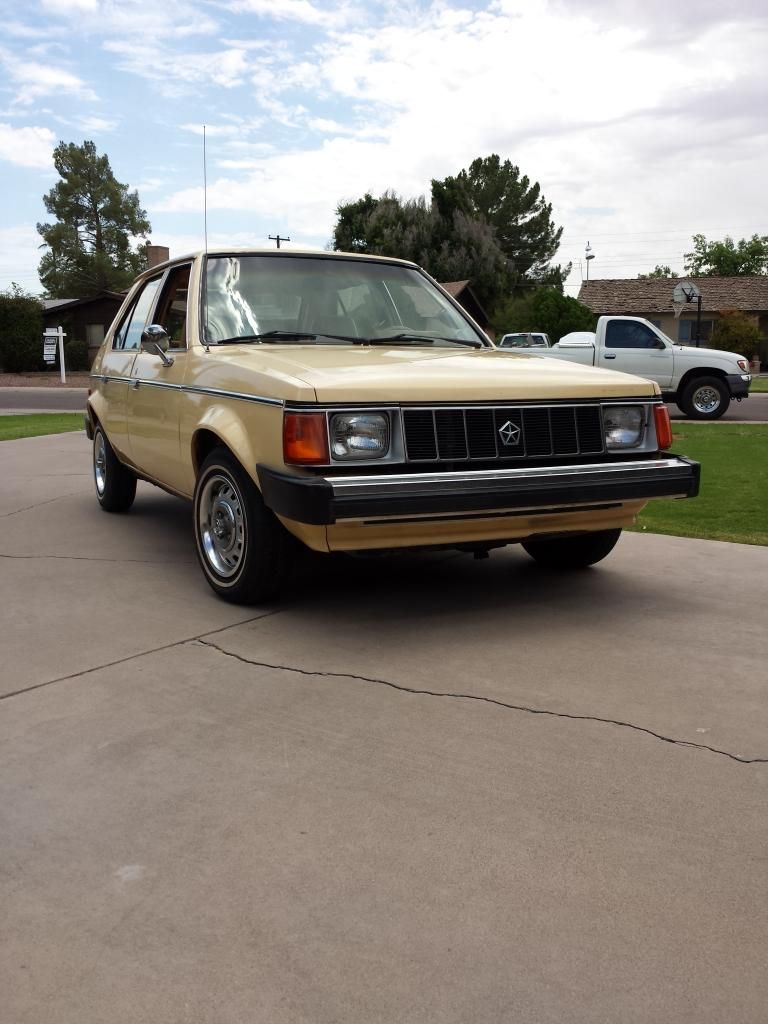
On the other hand, the Horizon is coming along very nicely.
Here is the finished catch can. dual -10 lines coming in from tbi valve cover. single -10 going into the intake tube. I had to run the wacky angle because the bungs were too close to each other. Also, for those of you interested the breather part is a one way valve so it only opens to atmosphere if the can sees a positive pressure. Otherwise it gets sucked back into the intake.
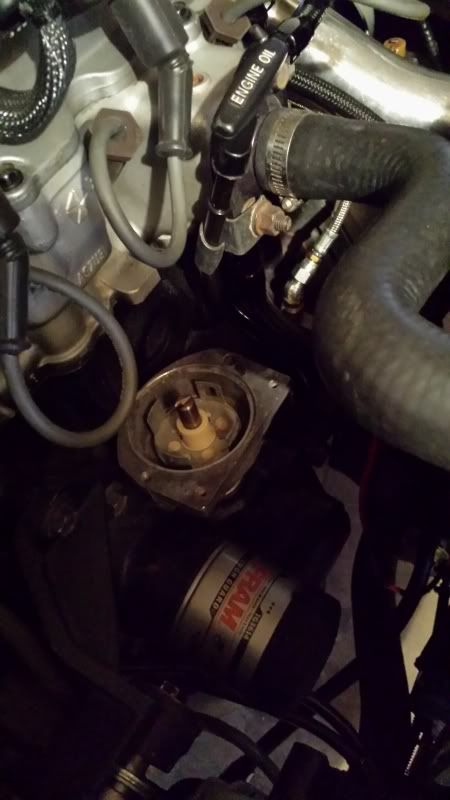
Ran into an overcharging issue...it was spiking to 16+ volts on acceleration. It would charge fine at idle, revving it up in neutral, and constant rpm. Replaced the voltage regulator (no fix), alternator (no fix), moved the + from the alternator to a junction (no fix). I ended up rewiring the entire charging system because i was still running the factory shadow alternator harness, moving the voltage regulator from under the dash to the front support, grounding it directly to the alternator, keeping the new alternator and voltage regulator. seems to be doing fine now. I honestly suspect it was a small fault in the factory field wires or something....between testing and replacing everything i have more hours into it than i would like to admit. I kinda like the looks of the smaller ND alternator compared to the chysler/bosch unit however.
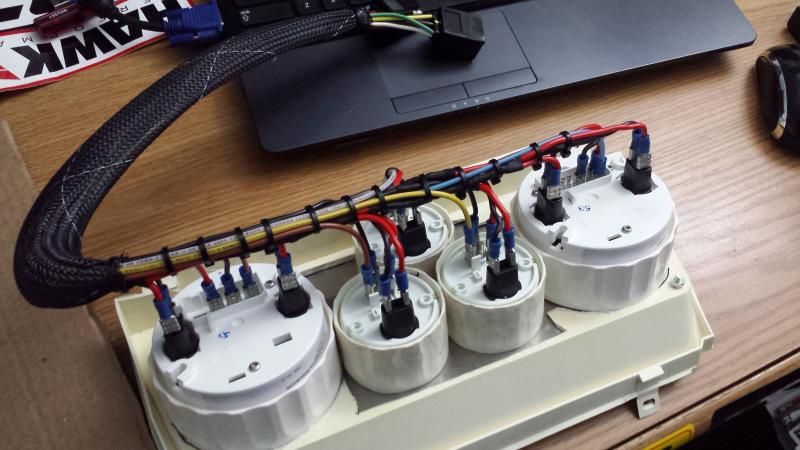
secondary switch panel wired up. Because racecar?
This always confuses people...maybe i should put a cap on it
little before and after pic for fun
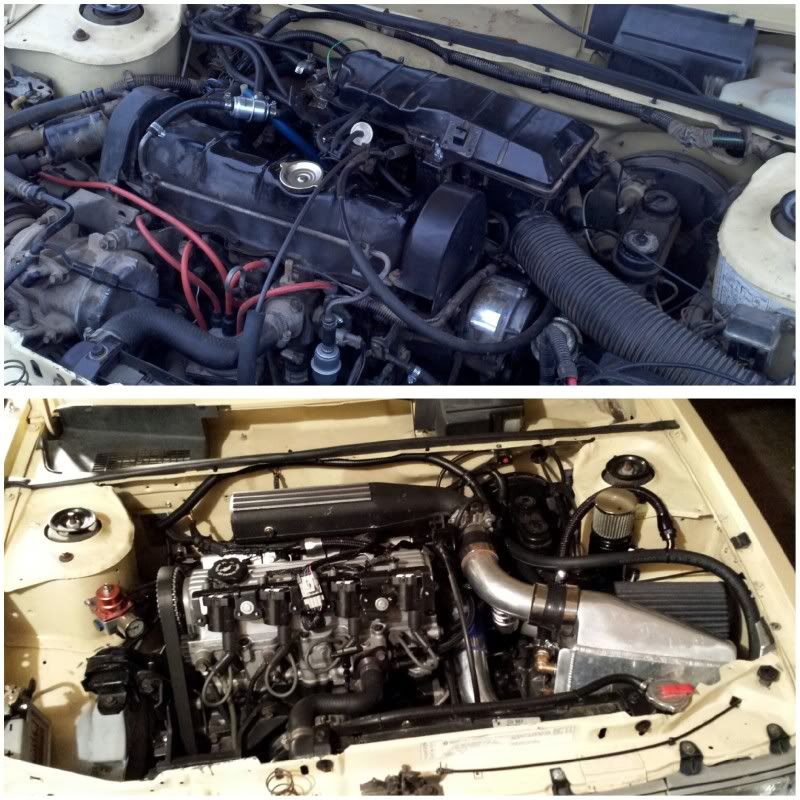
Great before and afterInteresting how unclutted an engine bay looks without all the factory vacuum line when running MS or other standalone. Does look kinda weird with the primary vac tap on the intake manifold plugged off

AJ (no More Alan) 84 Rampage RT TIII/568 Quaife 87 GLHS dealer optioned Red 16V Masi/568/Quaife
90 Masi 16V White/Ginger/Black
89 TC Masi 16V Red/Ginger/Black
86 GLHS #110 RoadRace Built 89 CSX-VNT Recaro Car
89 Turbo Mini 'Woody' 85 GLHT 'RedBox'
2014 Explorer DD'r 3.5Twin Turbo Ecoboost AWD and 500HP
My profile page has over 20,000 views, I'm somebody LOL
no updates. pics from a local meet a month ago. we got some looks to say the least!
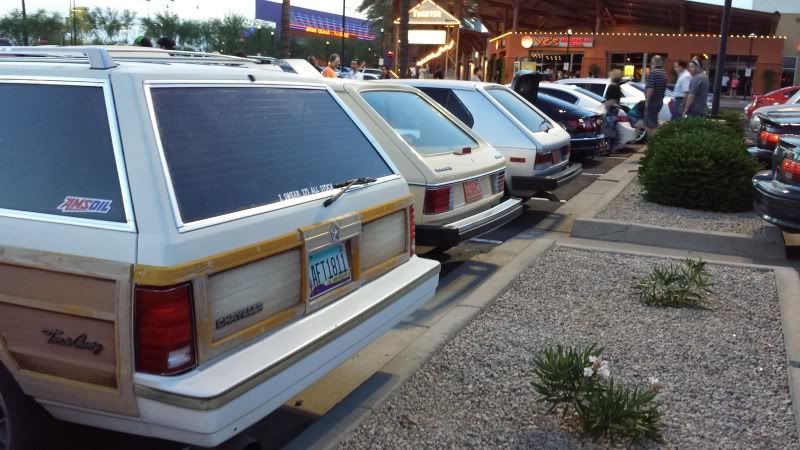
Tried to PM you, your mailbox is full. I can send you a set of GLH ground effects and the air dam if you're looking to clone it. Quite the sleeper as is though... \m/
Nick G. 1984 Dodge Rampage
i got a decent set waiting in the garage....torn about actually installing them tho lol
Can you mock them up and take a pic?
I'm curious what they would look like against the cream color
ever since i got a new job I have been slacking big time on the car. I have been driving it on occasion to the local car show and doing street tuning (slowly building boost and smoothing out the fuel map). Its currently running about 7lbs and feels very strong. Unfortunately I am approaching the limits of the stock tiny tires (I'm surprised they hold up as good as they do to be honest!).
I ordered the last couple gauges for my custom cluster and put the front bumper for the first time in about 2 years.
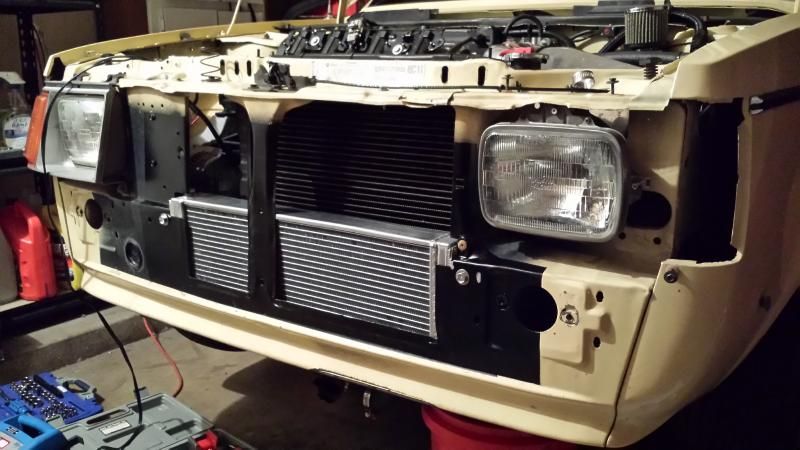
Radiator out, hammers out, dremel and files out. lets shoehorn the heat exchanger in!
might as well clean it up a bit
finished. Now I'm thinking I may have to swiss cheese my bumper a bit. not decided yet
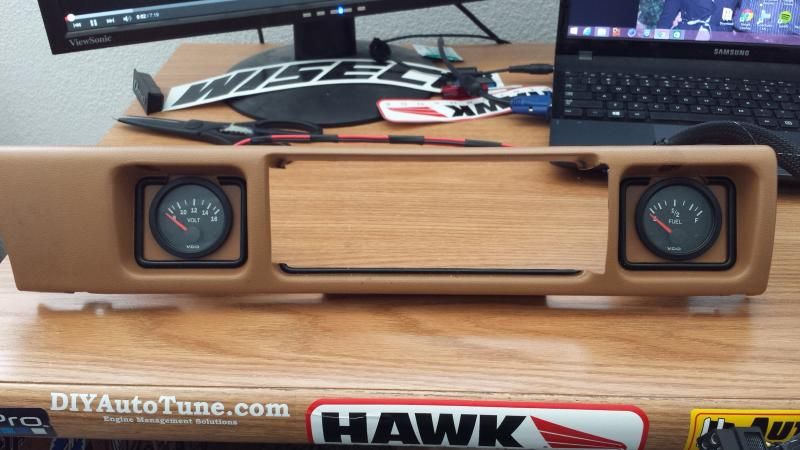
I've been driving around with no gauges (other than my laptop) for some time now. Finally getting around to fixing that.
VDO ----pit series gauges. Thought they were clean looking and matched the look of the car. Plus, they are a little cheaper than autometer. I also went back and forth on running a speedo. Ended up going with their fairly new GPS sending unit. 200k pulses per mile. neat.
One of the many factory pieces i hacked up
Front view of the main cluster
Back view of the main cluster.


I love this build. LOVE seeing that clean wiring too. Keep it up!
Dont push the red button.You hear me?
Thanks! I wish i could say under my dash looks as clean...
I'm definitely learning how I want to build my next car.
Here are some more pics I tried to post the other day.
Needed space for two more gauges....What better place than the A/C vents. Lets cut those out.
The stock center console seems to be a good donor for the vent inserts
Front view
Well when you decide to move on to your next car let me know about this one.
So what do you have now in place of the center console you cut up?
Dont push the red button.You hear me?

This is a fun thread to read, you've done such a great job...please keep posting as many pics a possible
[FONT="Arial Black"]Paul[/FONT] [B][SIZE="1"]US ARMY INFANTRY VETERAN[/B] 1995 Dodge Stealth R/T White DOHC 5 speed 1994 Dodge Stealth R/T Red DOHC 5 speed 1992 Dodge Daytona IROC, Blue TI 5 speed (2) 1992 Dodge Daytona IROC, Red TI auto 1991 Dodge Spirit R/T, Red (project) 1989 Shelby CSX-VNT #382 1989 Dodge Shadow ES, White TI auto 1987 Daytona Shelby Z, White TII 1987 Chrysler T&C wagon, Tan TII auto 1985 Dodge Lancer ES, Bronze TI auto 1982 Wife, White[/SIZE] [SIGPIC][/SIGPIC]

When working with snakeskin you can use a lighter to fuse the ends and cut it slightly longer, tie it short of the connector with lacing tape and then roll the excess over and tie it again so the cut end is dressed underneath. No zip ties to snag or cut ends out to fray
1994 Shadow Sedan. 2.2 N/A, A568 400,000 miles. "the science experiment"
1987 Shelby CSX #418. Long term rebuild and restore ?
 Posting Permissions

 Reply With Quote


